11 practical tips, photography skills for improving the picture quality and clarity
Author:FUN photography Time:2022.07.30
When it comes to the texture and clarity of the photo, it is also a problem of many people's headaches. When many novice photography enthusiasts create before and in the stage of photography, they always feel that the picture quality and clarity of the current photos are not satisfactory. Here I will share with you some tips on improving the picture quality and clarity of photos. Make good use of these methods to minimize picture quality loss, and some methods can even surpass the picture quality of the photo itself. These content FUN photography will be discussed separately from the two dimensions of early shooting and post -processing. Interested partners can read patiently, which may be a little inspired and helpful for you.
1. 6 issues that need to be paid attention to when shooting and creation in the early stage:
1. Make sure the accuracy of the focus and the stability of the shooting equipment
This is a basic issue. When many novice photographers conduct photography at the beginning, because the photography equipment itself does not have a good running -in, these problems will occur. The first is the accuracy of the focus. When shooting a subject, make sure the focus information of the shooting equipment. Whether it is a mobile phone or a camera, the camera will have a focus process. In a relative environment, the phone needs to manually click the screen to complete the accurate focus.
In addition, we need to ensure the stability of the device before this focusing process, such as using a tripod to stabilize the camera or mobile phone with a tripod, while ensuring that the shutter speed is increased to a relatively safe shutter speed. If it is a SLR camera, you can even turn on the pre -rising function, but you need to turn off your own anti -mixture function with a tripod, so that you can take a clear and textured photo effect. If you shoot a camera, it will be better to turn on the anti -shake function.
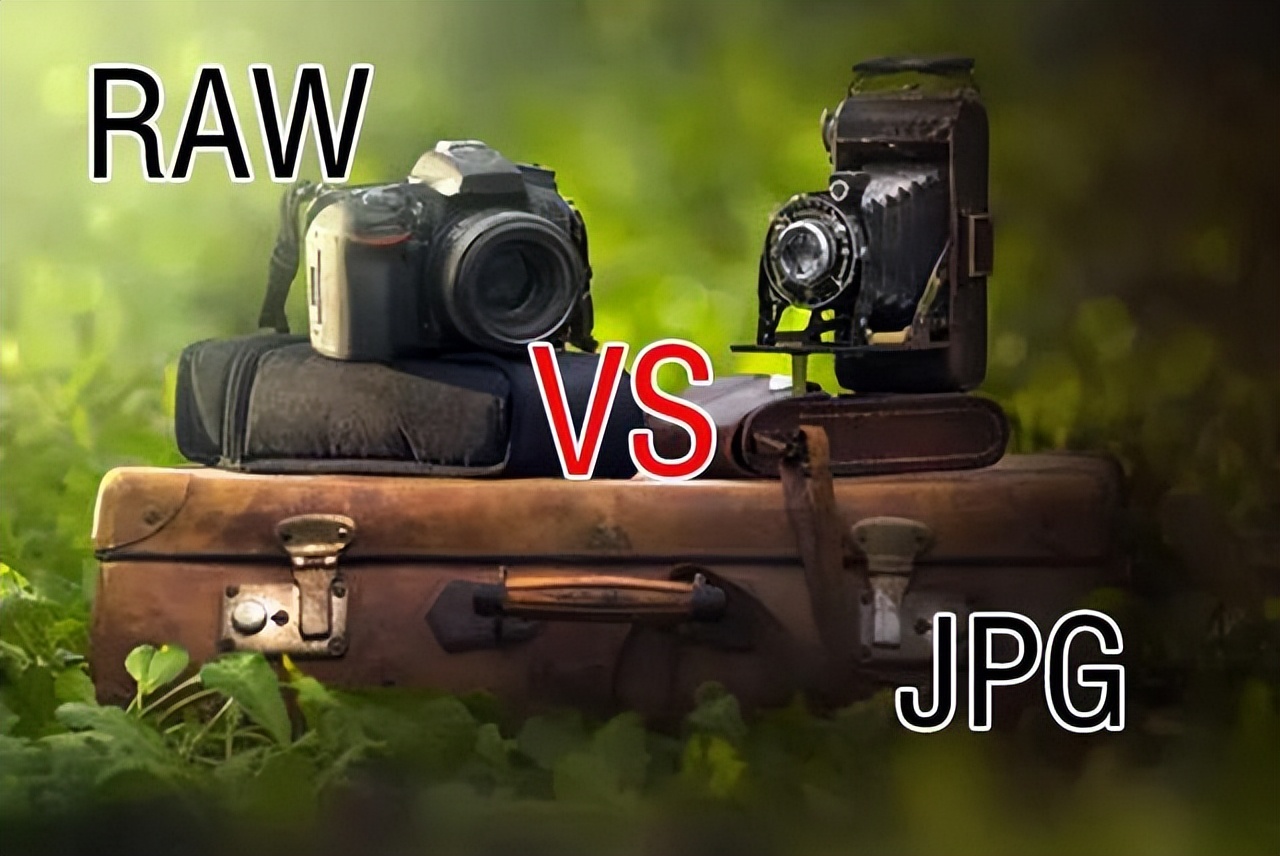
2. Select RAW format when saving the photo, or JPG+RAW
Here you need to do what you need to do before shooting and creation. You must take the camera settings seriously. If you understand the principle of the raw format file, you can know that the benefits of raw format are to greatly record the optical information of the photo file. Provide broad creation and play space for later creation. If we use a format like JPG, then when the photos are overwhelming and dead black, we want to use the later software to pull back. At the same time, there is another advantage to save photos in RAW format. It can be automatically adjusted to use the white balance, color temperature and other parameters of the photo, and then after we go home, we can use the later software to combine our own later ideas to flexibly adjust.
There are also a compressed version of RAW format in some cameras. Such files will be smaller, which can save a lot of memory space. This is also for us to more conveniently export photos and prepare for those with smaller memory card spaces. However, the compressed RAW format photo will be lost after trying the picture quality. But not obvious. This function can be determined according to personal circumstances.

Many partners do not understand why the editor recommends to choose JPG+RAW to save photos. In fact, the reason is very simple, because many people do not directly browse RAW's function or software on the computer. At the same time, the raw grid must be professional software to open it. At the same time, there will be time delay when opening; it will affect the efficiency of us quickly browse the photos. Therefore, the advantage of the JPG+RAW format is that when we need to browse the photos quickly, we can look at it in JPG format, and then the optimistic photos correspond to the number of photos in RAW format for later stage. Of course, we need to use this photo to save mode. Our memory card is slightly larger. For example: 128G memory card.

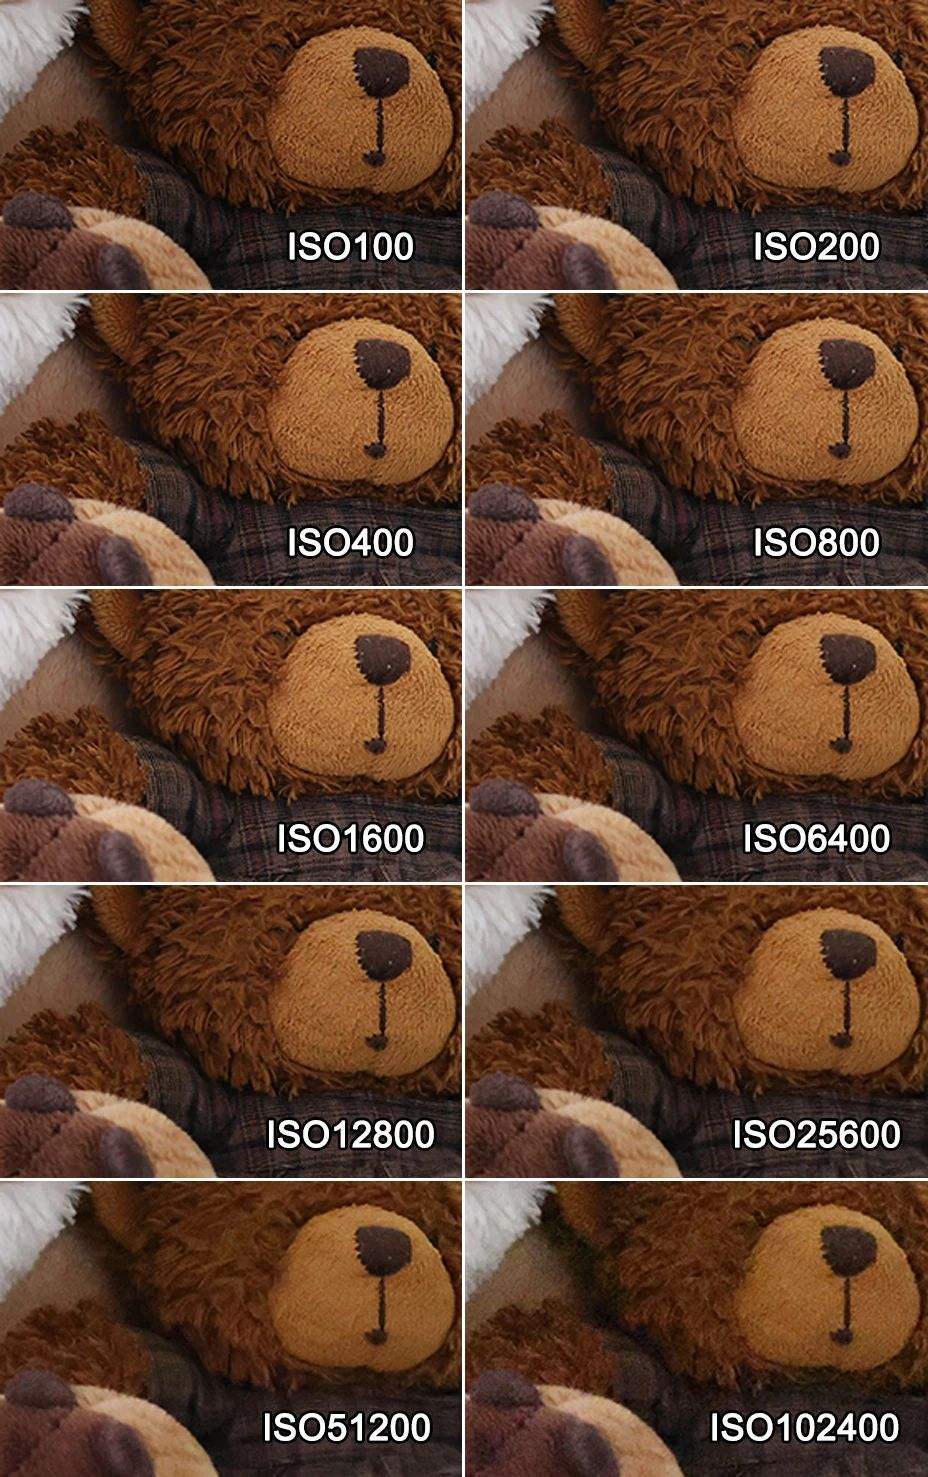
3. The pure picture quality brought by low sensitivity
If you know the three elements of the camera's exposure, you will know the sensitivity ISO parameter. The higher the opening, the more noise the screen is, the lower the sensitivity, and the less the picture quality noise, the cleaner the quality noise. Therefore, if you want to get a clean and excellent photo, we need to set the sensitivity as low as possible when shooting.
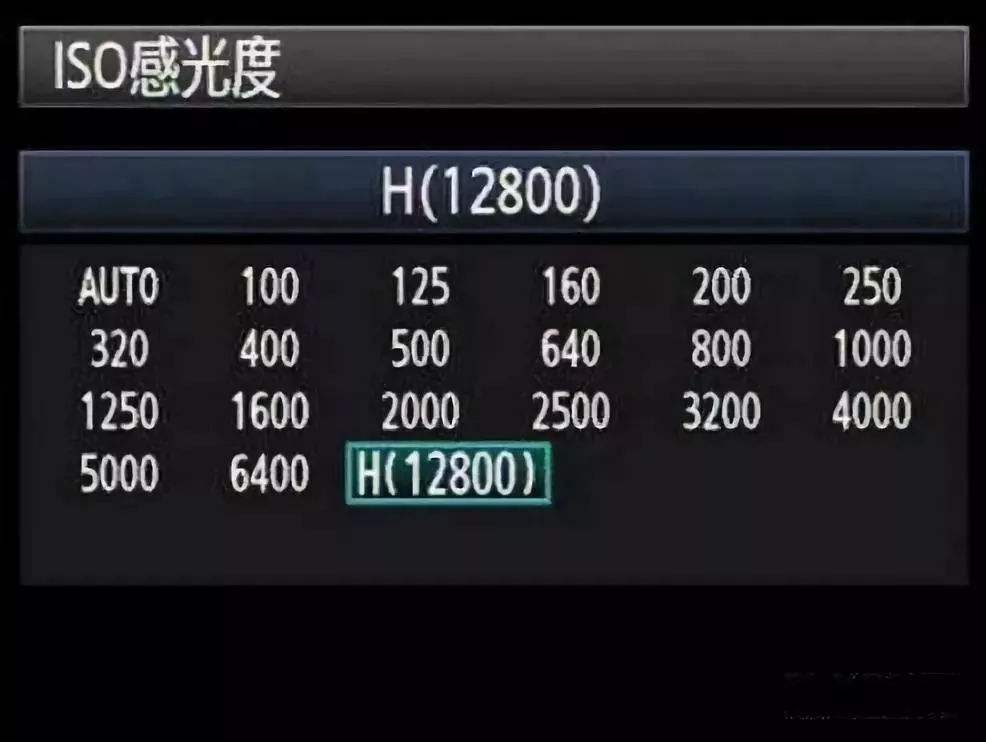
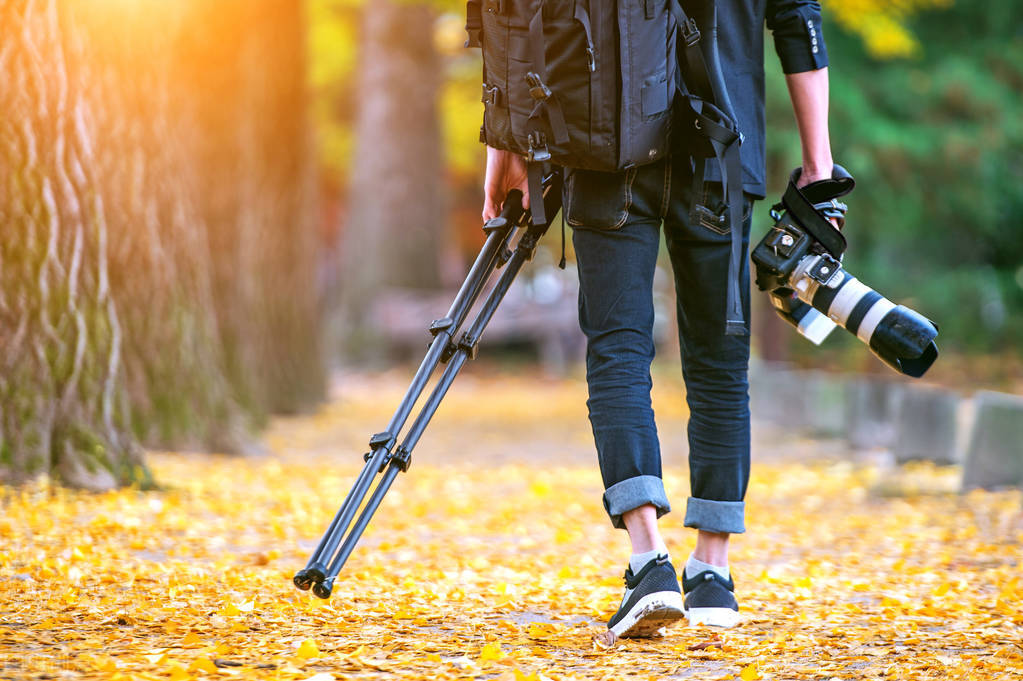
Then there will be a partner asking that when the sensitivity is reduced, the photographer appears insufficient light. What should I do if the photos are not exposed? This is easy to solve. We can solve it by using the closed time of large aperture and slow shutter. However, it is important to note that when the shutter becomes slow, you need to use a tripod to stabilize the camera. So this is why experienced photography will definitely carry a tripod when they are creating.
4. Avoid using the pole value of the lens as much as possible:
This point in the early photography skills, more than once mentioned to everyone, that is, the extreme value of the lens. The aperture is too large and the picture quality will be reduced; however There is a decline in picture quality. What is the specific reason you can search for yourself.

So how much can we get the best photos with the aperture value? The method is actually very simple, that is, the maximum aperture is reduced two or three gears. For example, the best imaging aperture parameters of many lenses are between F7-F14, and we can try the aperture parameters in the middle to compare. This can help us find aperture parameters with good imaging quality.
Of course, the requirements for the use of aperture limit are not absolute. This must be adjusted according to your creative ideas. If it is a beautiful photo of a beautiful woman, it will definitely use a larger aperture and even turn on the maximum aperture. Here we need to ensure the details of the model's face.
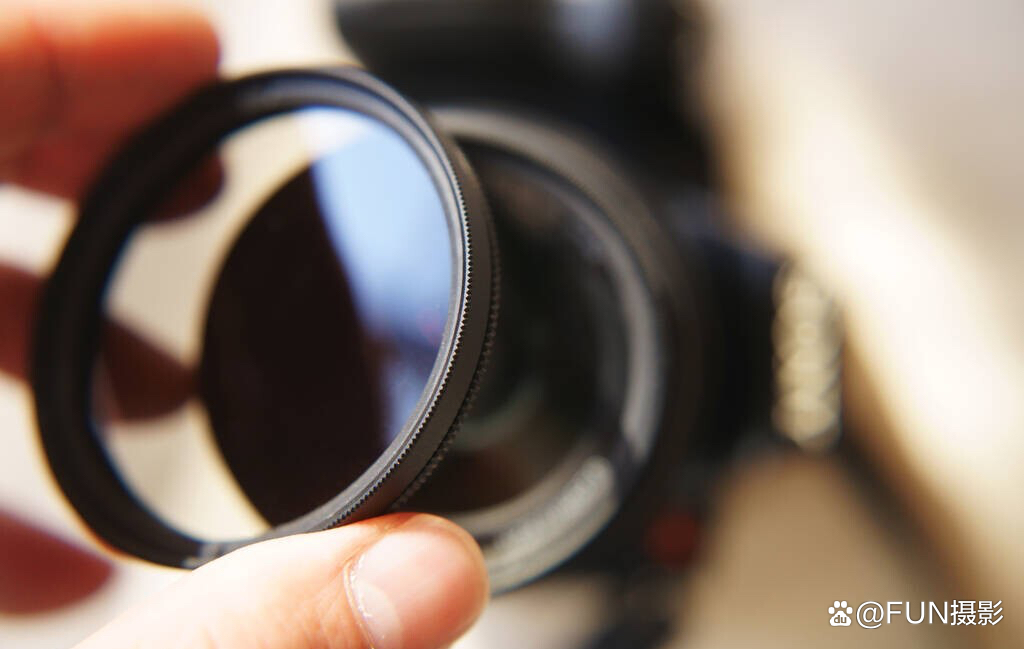
5. Correct selection and use of filters
Filters are accessories that make many photography enthusiasts more tangled and headache, because the usage rate is not very high, but sometimes it is a kind of accessory that cannot be missing. However, low -priced filters will affect imaging quality, and high -quality filter prices are very high. Therefore, many people buy the kind of filter to save money, but after use, it will cause the problem of decline in the picture quality. So here the suggestion of FUN photography either does not install filters or packed genuine filters. The filter of genuine products does not need to prepare too much. The high frequency is ND optical light mirror, followed by the medium gray gradient mirror, and then the CPL polarization mirror. You can make appropriate choices based on the theme of your usual shooting.
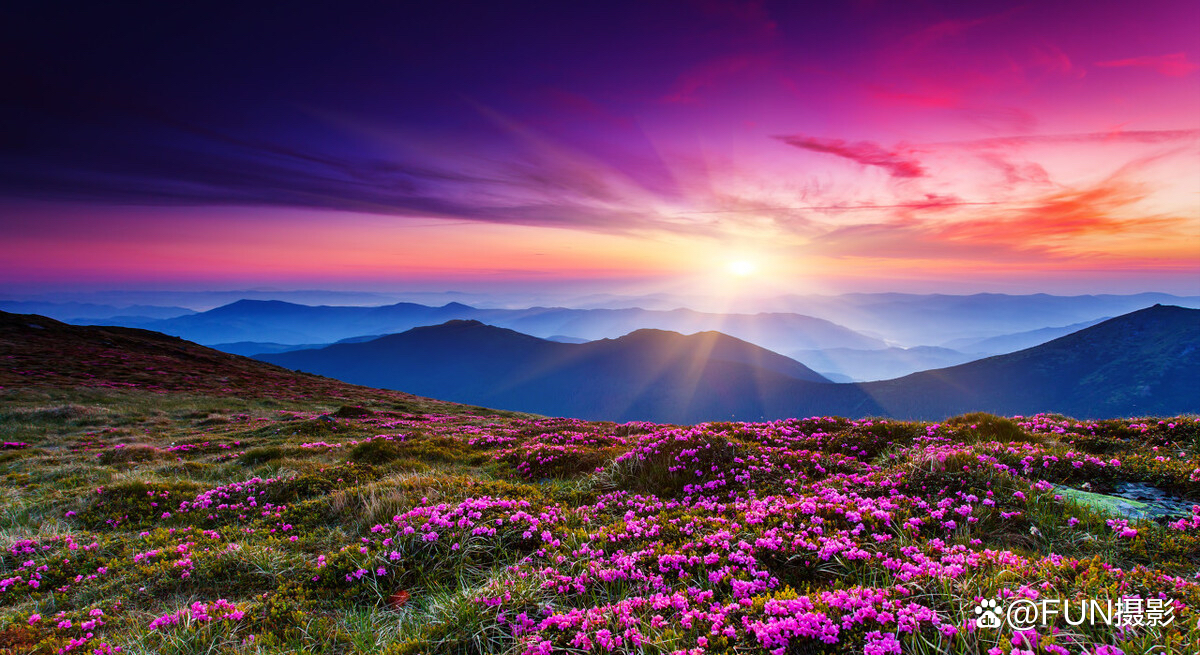
6. Find the right metering point
If you want to get more photos, we need to ensure the correct exposure of the photo, so we need to find the correct light metering area in the scene screen. For conventional scenery photography, we often need to consider restore the light and dark details of the picture. Then we will find the middle area where the dark light transitions in the picture will be found for metering.

If the metering position is not right, the photos you take may have the following two situations. First, when we measure the light to the bright part, the details of the bright part will appear normal, but the details of the dark parts are insufficient, and the color of the dark area will be. It will become very ugly; but if the dark part is measured, the bright area will be overexposed and the dark part will be normal. At the same time, it is necessary to ensure the overall exposure effect of the photo. If the photo is too dark, the color of the color will decrease, and then the photo will look dirty.
2. Use later software to enhance the five techniques of photos and picture quality
1. To ensure the effect of the picture quality, we need to use professional post -software:
Why do you say this, because the post -processing software developed by the large factory is the result of many years and thousands of data testing. For example, professional -grade map software such as Photoshop and Lightroom has a strong image algorithm and optimization ability. As long as we use it properly, we can ensure that the picture quality of the photo is not lost.

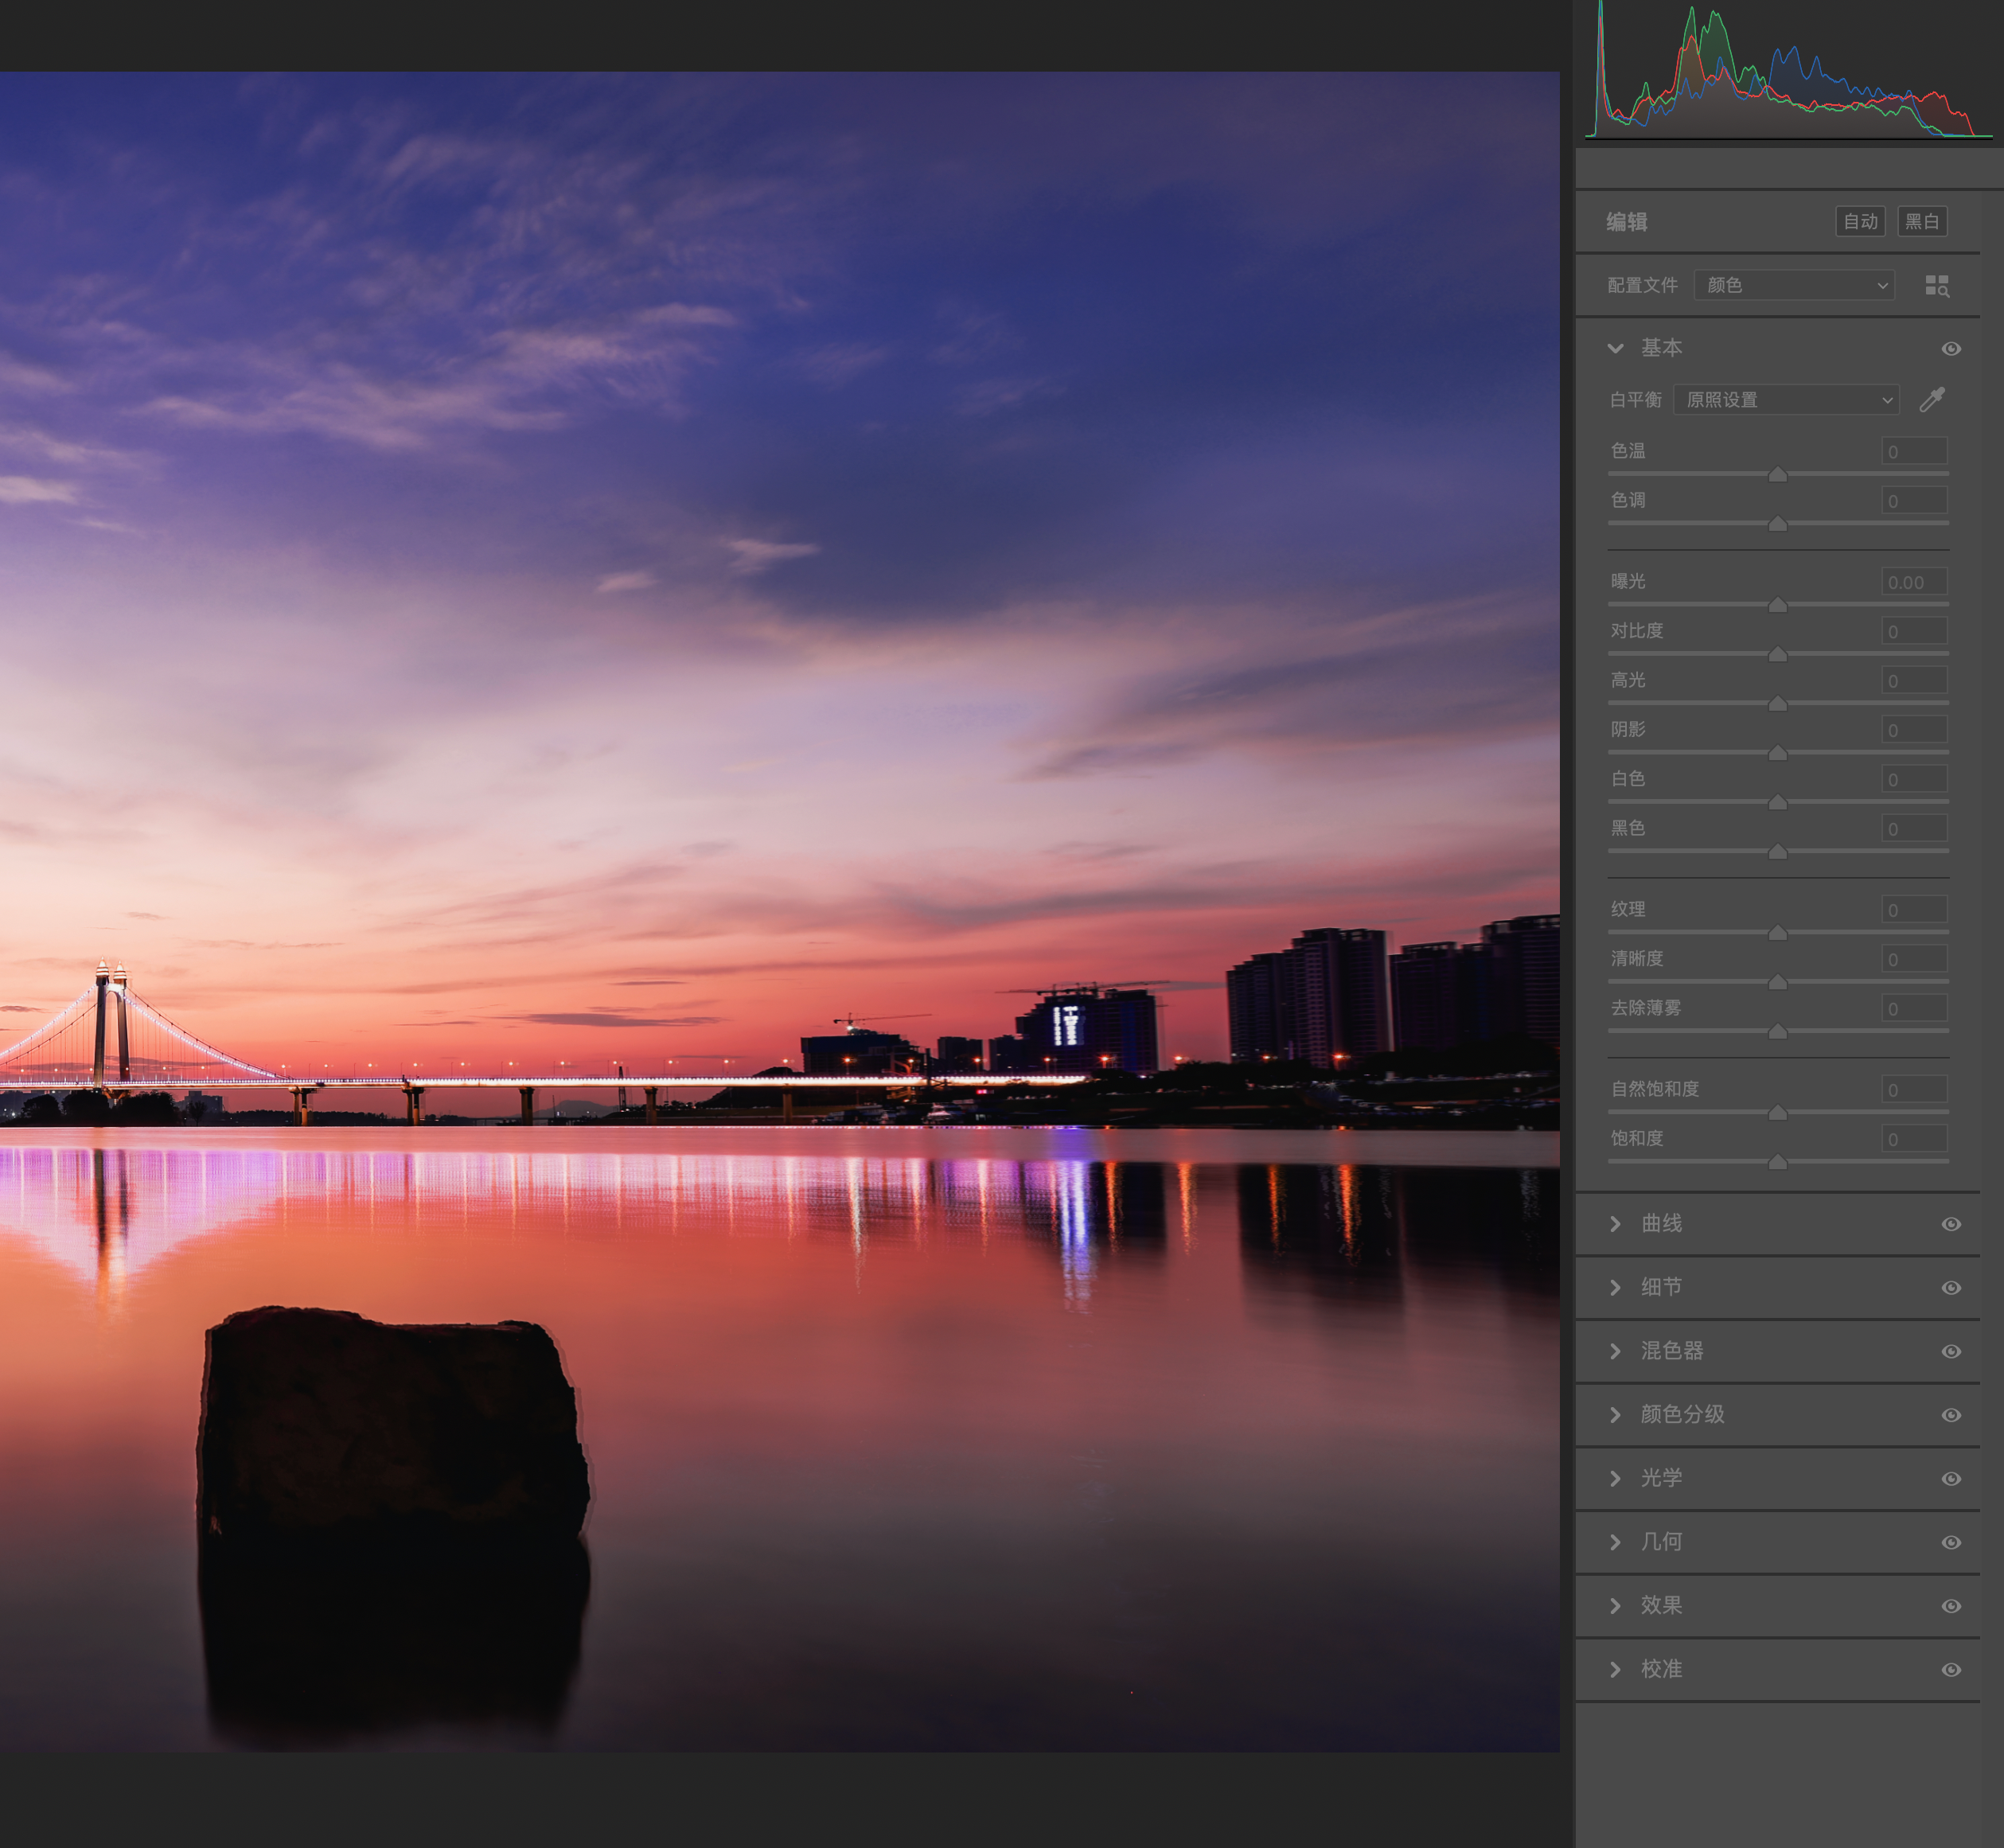
Therefore, when using the software in the later stage, we need to pay attention to more details of the details of the color and coloring. We need to pay attention to a moderate moderate when adjusting the various parameters of the photo. Observe the changes in the details at any time. For example, many people like the contrast, clarity, and sharpness of pulling photos, but after pulling, many people will find that the visual tearing feeling appears, which is what we often say. ; This will cause the picture quality loss of the photo.
2. Correctly set the color gamut and bit depth of the photo repair software and photos
This tutorial has also been mentioned many times in the previous tutorial. If you have a display that supports multi -mode color gamut, then congratulations, so you can set the camera and display color space to prophoto RGB or Adobe RGB; Because these two color management color gamuts are wider and more delicate. Let us see the effects and changes in more details on the details.

But most ordinary display only supports the SRGB color gamut. At this time, we need to set the color space of the camera and software to SRGB, including the display to SRGB, otherwise it will cause the color difference! Many partners do not understand what color difference is. For example, for example, we set up Adobe RGB color gamut mode on our Photoshop, but the computer display only supports the SRGB color gamut mode. Then There may be inconsistent colors when you are on. It will make the audience look different, and there are colored problems.

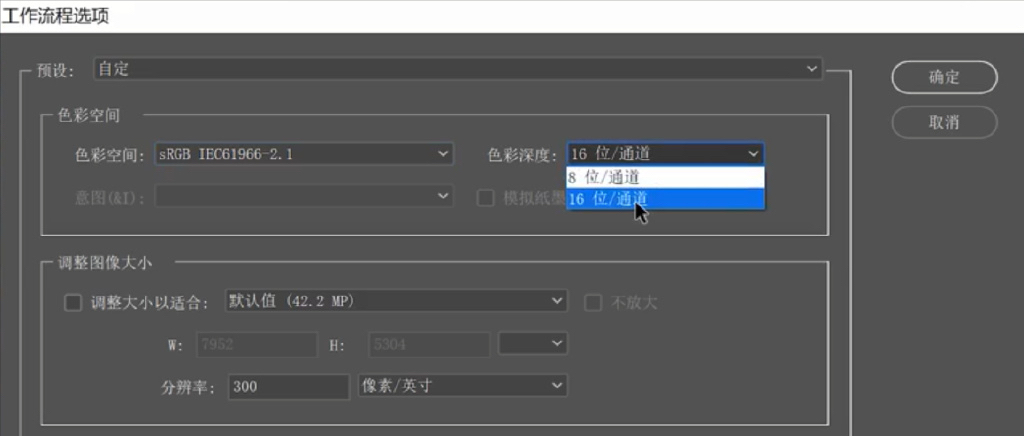
Let's talk about the depth. For the depth of the position, many people do not know how to use it correctly, so here is a way to tell you a method. When we are undergoing post -drawing, you can adjust the processing space into 16 bits, so that in the high color The effect of the photo trimming in the domain display will be more oily, and the details of the photos will be better protected. However, when the photo is exported, we need to pay attention. At this time, we need to save the depth of the photo of the sRGB and 8 position. Because of the depth of 16 positions, many web pages and mobile phones and monitors are not supported, so that the color display is abnormal.
3. Reasonable use of noise reduction and sharpness:
Most professional map repair software will have basic noise reduction and sharp function, but many people do not know how to operate the concept of first noise reduction or first, then FUN photography tells you the correct operation order: first noise reduction first noise reduction Then, do not reverse the order again; at the same time, pay attention to adjusting the parameter strength of noise reduction and sharpness. The overall adjustment of 5%-10%of points is enough, and it should not be too high. If it is a portrait photo, you can further sharply enhance the skin and facial features of the portrait photo when the final output.
The operating skills are very simple. Press Ctrl+Shift+Alt+E key to cover the layer, and then copy a layer. For the copy of this layer, click the filter menu to find a high contrast retention, adjust the 2-3 pixels, and adjust the pixel. Finally, select the mixed mode: superimposed to adjust the texture of the character's skin more texture.
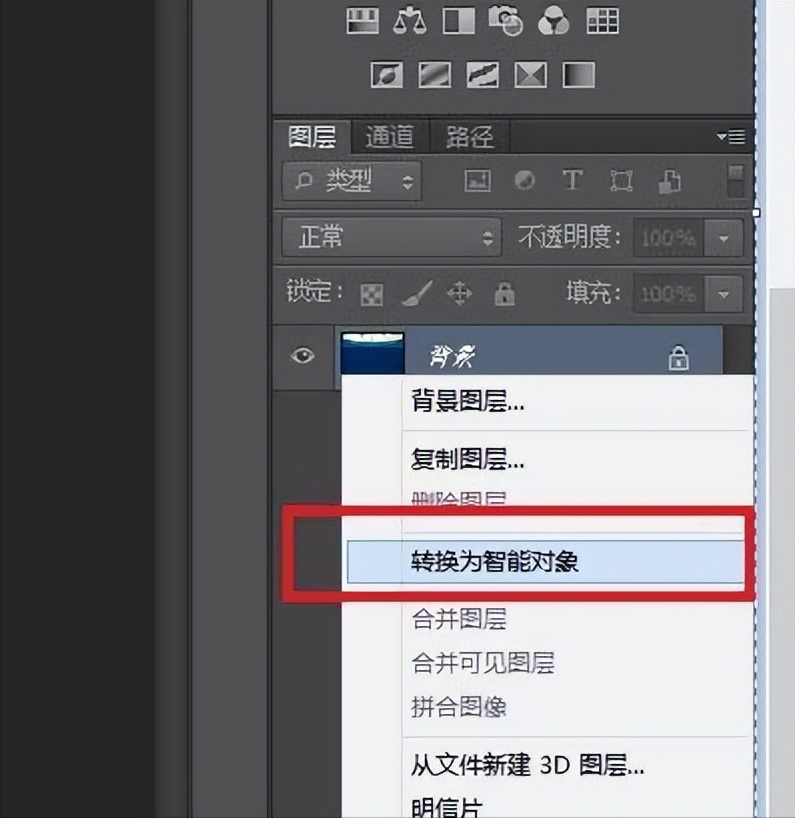
4. Use smart object functions
Speaking of Zhitong objects, I do n’t know why few teachers talk about this technique. In some cases, in order to allow the photos we take to have a better display effect, it may use zoom or deformation tools, but directly deform the photos to the photos. At that time, we will find that the picture quality will become very vague. Then at this time, the layer can be converted to smart objects for operation. After converting the picture into a smart object, various operations will be performed. At this time, the quality of the picture will not affect the quality of the picture, and it can be modified multiple times. The operation method of converting the picture into a smart object is very simple. First of all, the picture is imported into the PS. On the right layer window, right -click to select the background layer, a menu list will pop up, and you can find a smart object to click on it. Essence
5. Use later software to perform pixel enhancement processing
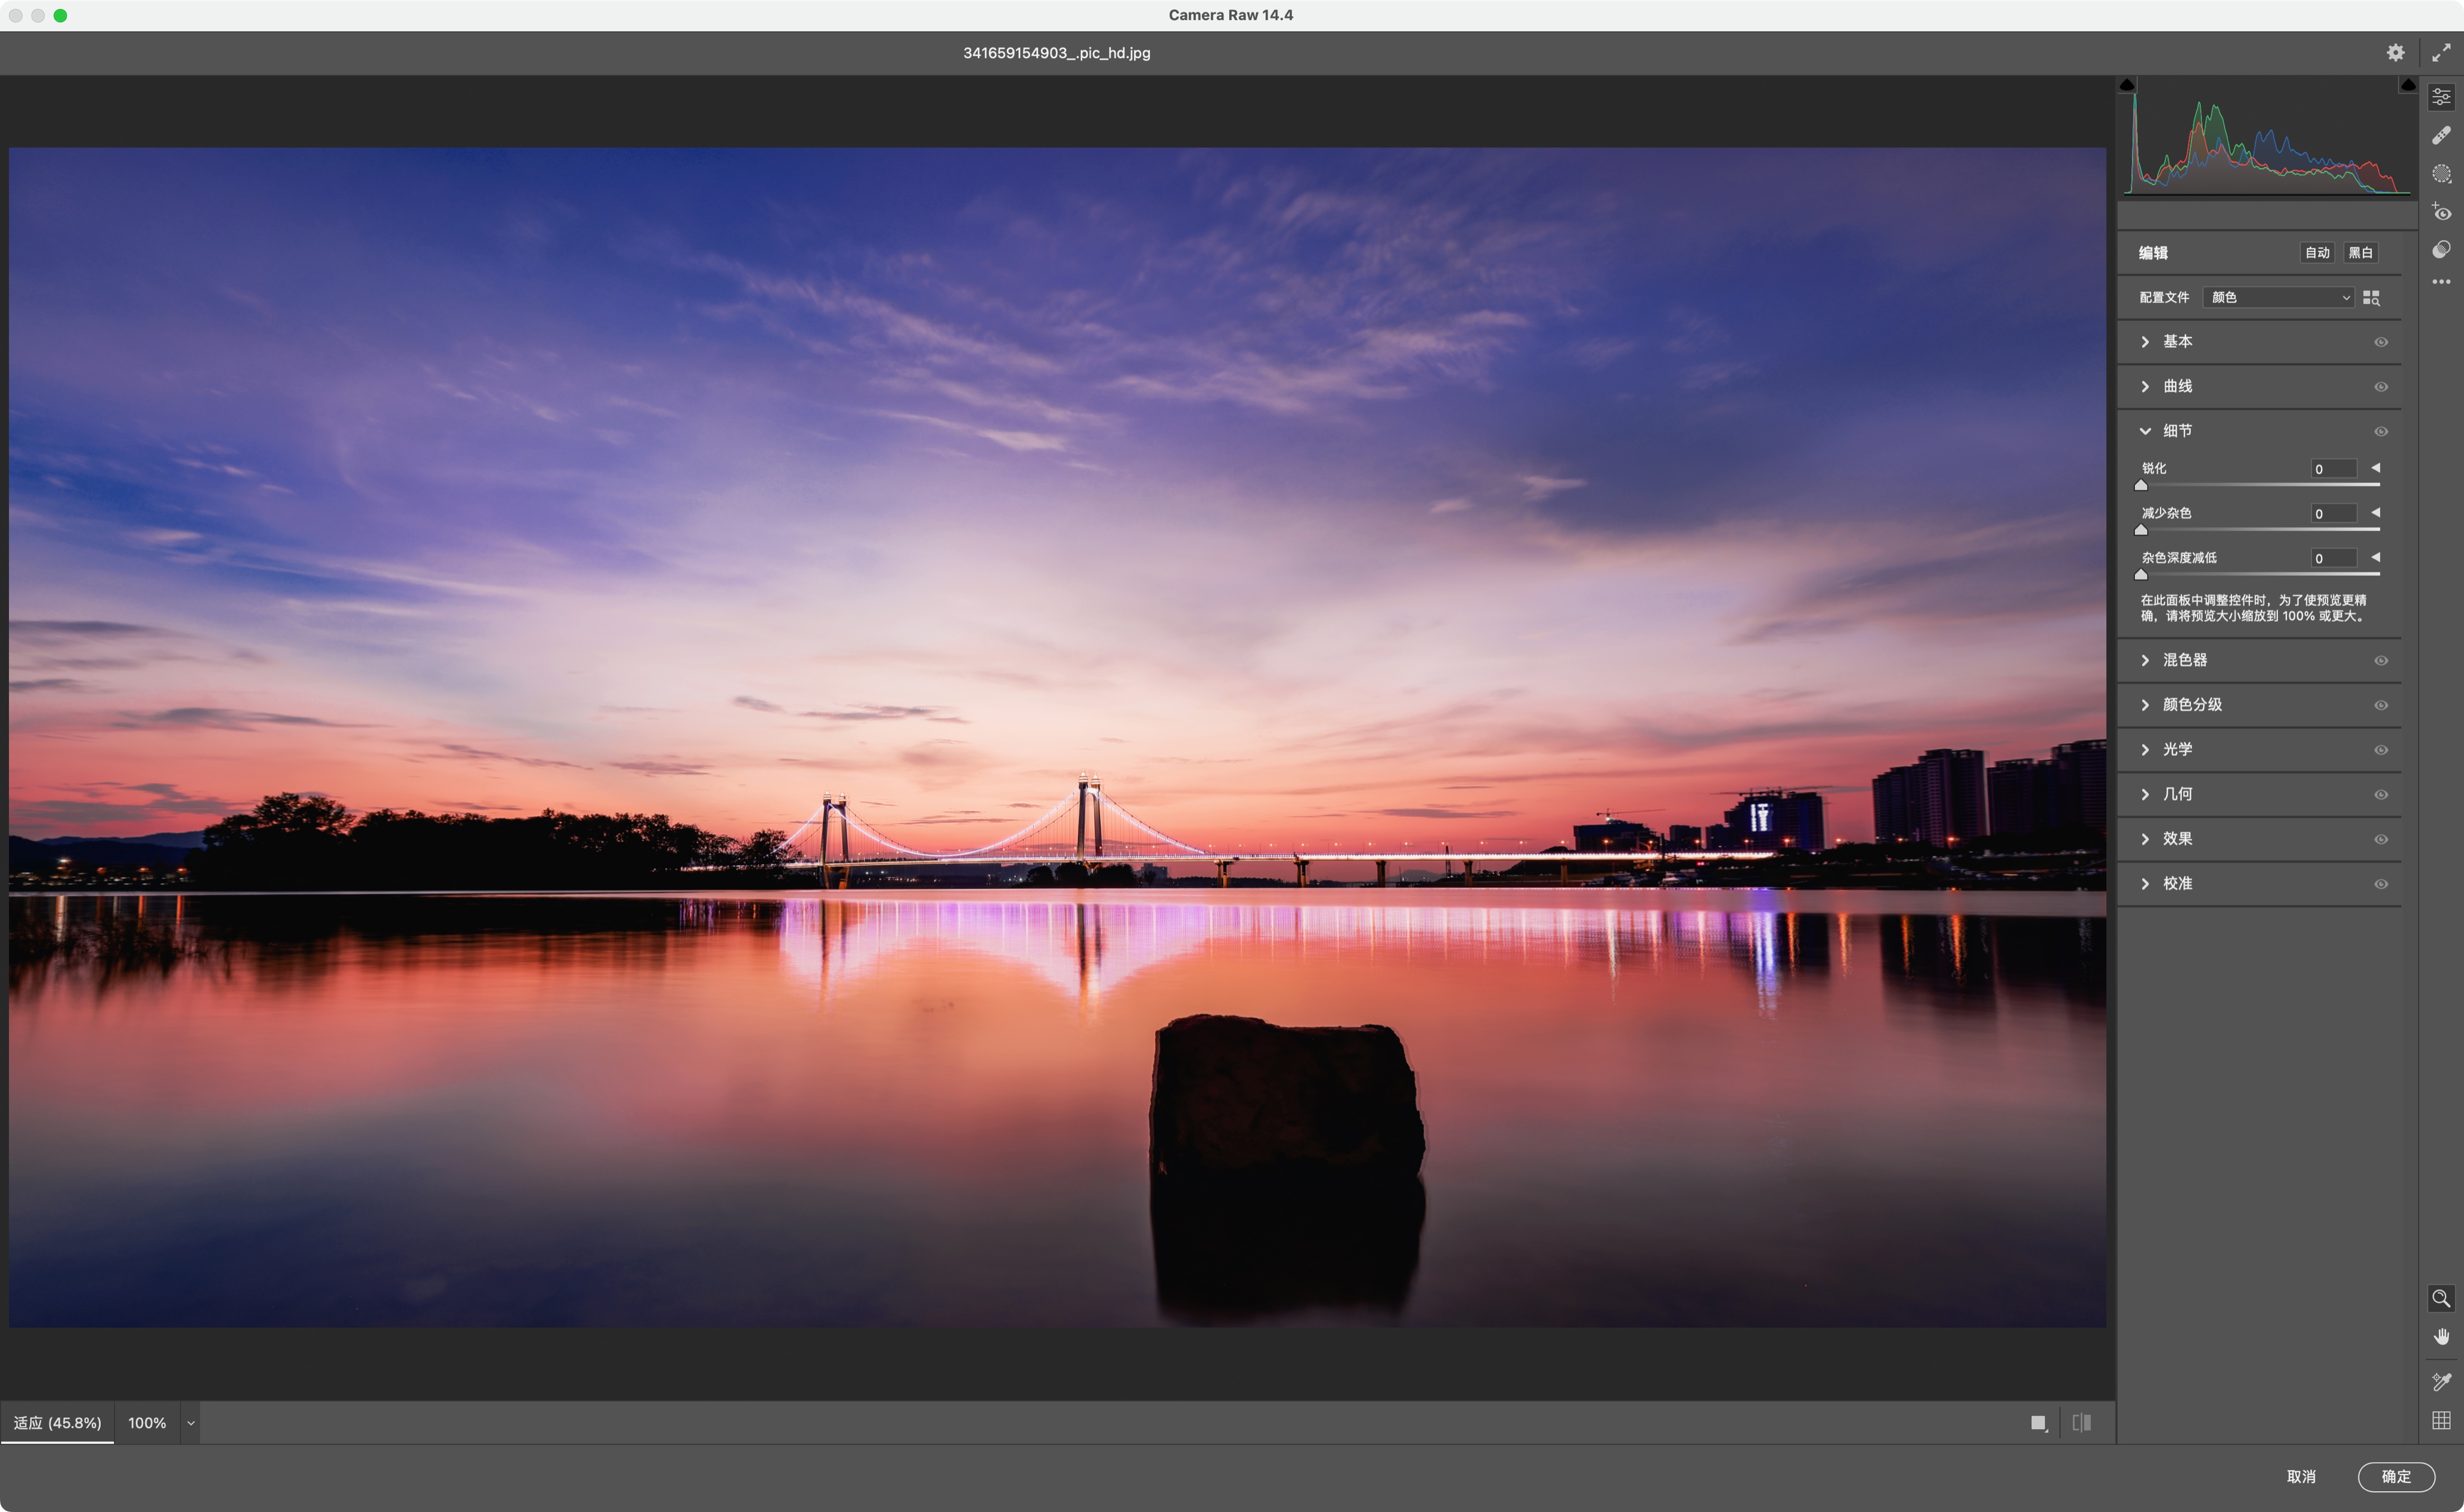
This is a new feature, which is easy to use. You can increase the pixels and quality of the photo by 4 times. When we feel that the quality of the photo is not strong enough, you can try this function. The specific operation method is to open the photo in Photoshop or Lightroom software, import the photo into the Adobe Camera Raw filter, right -click the picture and find the enhancement function in the pop -up menu. In this way, you can get a new high pixel photo.
Summary; I do n’t have to learn and use all the ways to talk about so many methods. As long as we have more attentive attempts in the process of photography creation and pay more attention to details. When these methods become part of your creative habits, the texture and clarity of the photos you take will get better and better. Finally, I hope that the content of this time will bring you more inspiration and help.

Want to know more exciting content, come and pay attention to FUN photography
- END -
In the second half of 2022, the starting activities of major projects in the province and the starting ceremony of major projects in Jiuquan City in the second half of the year

Industry is the first project of the king,Sprint in the second half of the year's ...
The old Chinese doctor prescribed the prescription for free before.
The Yangtze River Daily Da Wuhan client July 19th Dr. Zhang was quite concerned ab...